Calisthenics · Updated 2026-09-16
Handstand tutorial: from wall hold to freestanding balance
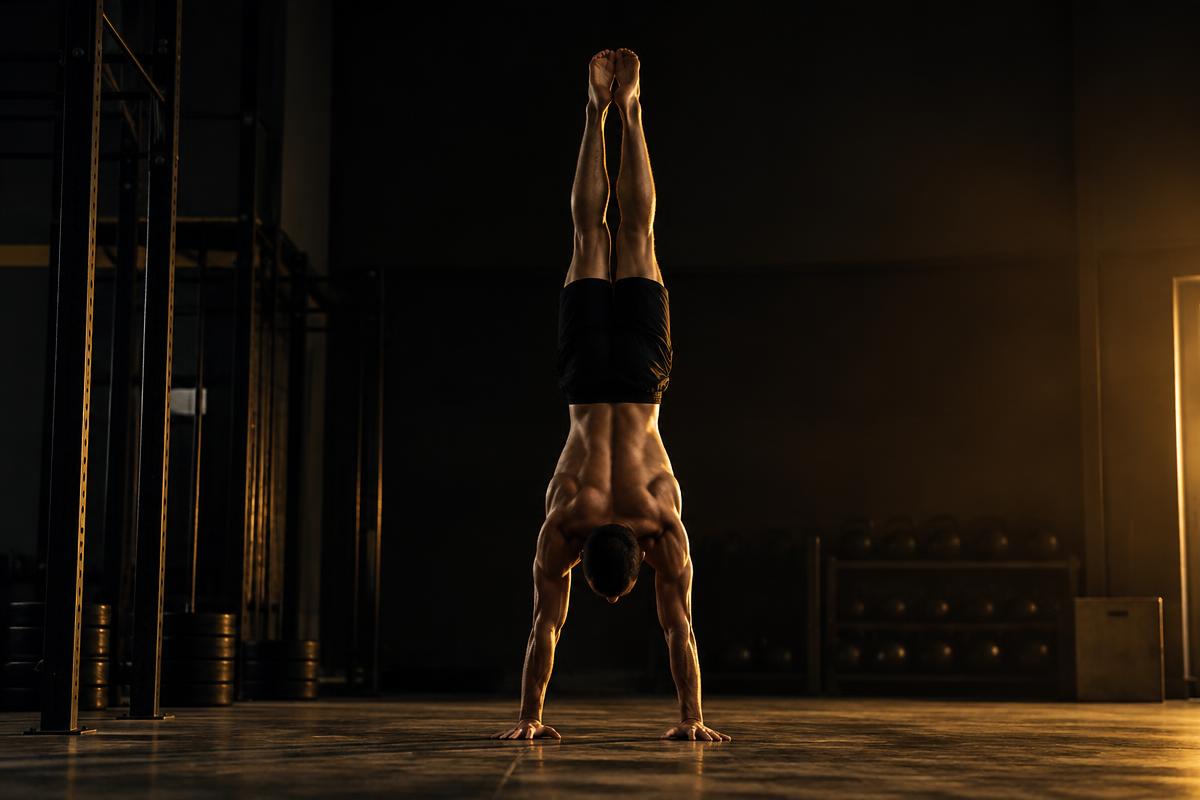
A freestanding handstand is built through four stages: wall holds facing the wall, wall holds with your back to the wall, kick-ups with a spotter or crash pad, and short freestanding attempts. Balance is a skill trained daily in short sets, not a strength problem solved with more pushing power. Most beginners hold a freestanding handstand for several seconds within two to four months of daily practice.
Handstand is balance training, not just a strength move
Most beginners assume a handstand needs huge shoulder strength. It needs some, but the real skill is micro-adjusting balance through the fingers and wrists, second by second. That is why daily short practice beats occasional long sessions — balance is a motor skill, and motor skills improve with frequency.
The four-stage tutorial
| Stage | Drill | Target | Focus |
|---|---|---|---|
| 1 | Chest-to-wall hold | 30-45 sec | Straight body line, shoulder shrug |
| 2 | Back-to-wall hold | 30-45 sec | Weight shift toward the fingers |
| 3 | Kick-up with spot or mat | 5-10 attempts | Controlled entry, not jumping into the wall |
| 4 | Freestanding attempts | 5-15 sec | Finding balance without the wall |
Getting the body line right
A stacked handstand puts the wrists, shoulders and hips in one straight line, with the ribcage pulled down rather than arched. An arched lower back is the most common fault and it makes balance far harder because it shifts your centre of mass backward.
- 01Push the floor away — active shoulders, not shrugged-up ears
- 02Squeeze the glutes and ribs down to avoid a banana shape
- 03Fingers spread wide and gripping, most balance corrections happen there
- 04Look at a fixed point between your hands, not straight down or backward
A weekly practice plan
Practise five to six days a week for 10-15 minutes, since handstand is technical rather than exhausting and recovers quickly. Keep sets short — 20 to 45 seconds — and stop when your form breaks down, not when your arms are tired.
- 01Days 1-2: chest-to-wall holds, 6-8 sets of 30 seconds
- 02Days 3-4: back-to-wall holds plus 5 kick-up attempts
- 03Days 5-6: freestanding attempts away from the wall, 10-15 short tries
- 04Day 7: rest or light wrist mobility work
The mistakes that keep people wall-dependent for years
- 01Only ever practising chest-to-wall, which does not train falling forward safely
- 02Never attempting freestanding reps because they feel unsafe
- 03Ignoring wrist mobility, which limits how far you can shift your weight forward
- 04Holding the breath, which tenses the shoulders and worsens balance
How the app helps you self-correct
Calisthenics.dk's Movement Analyzer watches your handstand attempts through the camera and flags an arched back or a leaning line in real time, on-device. The AI Coach can also answer specific questions about your kick-up or balance drills between sessions.
How the app helps you with this
Frequently asked questions
How long does it take to hold a freestanding handstand?
Training daily, most beginners get a few seconds of freestanding balance within two to four months. A confident 30-60 second hold usually takes six months to a year.
Do I need a wall to learn a handstand?
A wall speeds things up early on because it removes the fear of falling, but freestanding balance only improves once you start practising away from it too.
Why do I keep falling to one side?
Usually an uneven push through the fingers or a slight twist in the shoulders. Practise slower kick-ups and check that both hands are pressing evenly.
Is handstand push-up strength needed first?
No. Balance and pressing strength are separate skills. You can hold a handstand long before you can press out of one, and vice versa.
Keep reading
Want the plan adapted to you?
Calisthenics.dk rebuilds the programme around your level, counts your reps through the camera and corrects your form as you go — all on your own phone.